If you’ve ever wondered how most plastic products are made, the answer is simple: injection molding. It’s a process where tiny plastic pellets are melted and then injected into a mold to create everything from phone cases to car parts. Once the plastic cools, the mold opens, and the finished piece pops out, ready to use! The best part? Molding is super fast, cost-effective, and delivers the same high-quality results every single time. That’s why it’s used across so many industries, from medical devices to household goods, making production smarter and more efficient.
What Is Injection Molding?
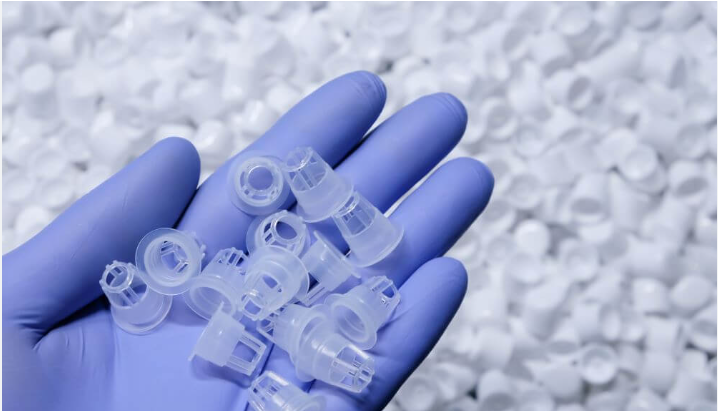
Injection molding is a famous way to make plastic products. In this process, small plastic pieces (called pellets) are melted until they become soft like liquid. This melted plastic is then injected into a mold, a hollow shape made of metal that decides what the final product will look like. Once the hot plastic fills the mold, it cools down and becomes solid again. Then, the mold opens, and the finished product comes out, which is ready to use. This same process keeps repeating, allowing factories to make thousands of plastic parts quickly and with the same quality every time.
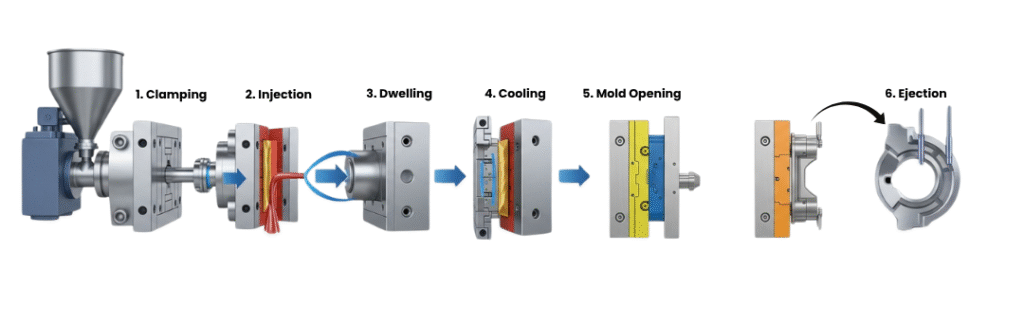
The injection molding process usually includes six main steps:
- Clamping: The mold closes tightly.
- Injection: Hot, melted plastic is pushed into the mold.
- Dwelling: The plastic stays inside for a short time to fill all spaces.
- Cooling: The plastic cools and hardens.
- Mold Opening: The mold opens after cooling.
- Ejection: The finished part is removed.
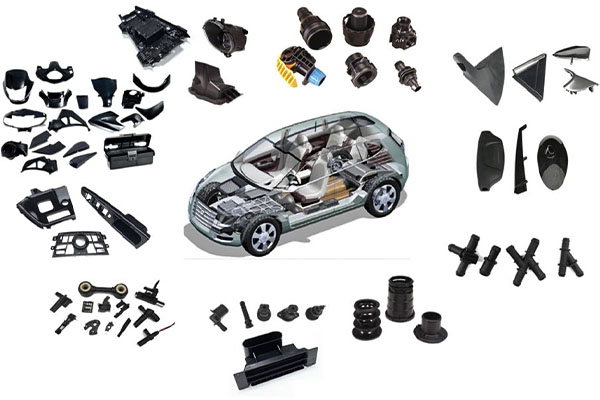
This step-by-step cycle is fast and efficient, which is why molding is used for mass production. It’s ideal for making products with complex shapes, smooth surfaces, and fine details, like medical devices, car parts, toys, and packaging.
One big reason companies choose plastic molding is that it keeps costs low for large orders. The mold can be expensive to make at first, but once it’s ready, each part costs very little. Plus, the process creates very little waste and allows easy use of many molding materials such as ABS, nylon, and polycarbonate.
In short, molding is a smart, repeatable, and cost-effective way to create millions of plastic products with accuracy, from small micro parts to large industrial components.
How Injection Molding Works
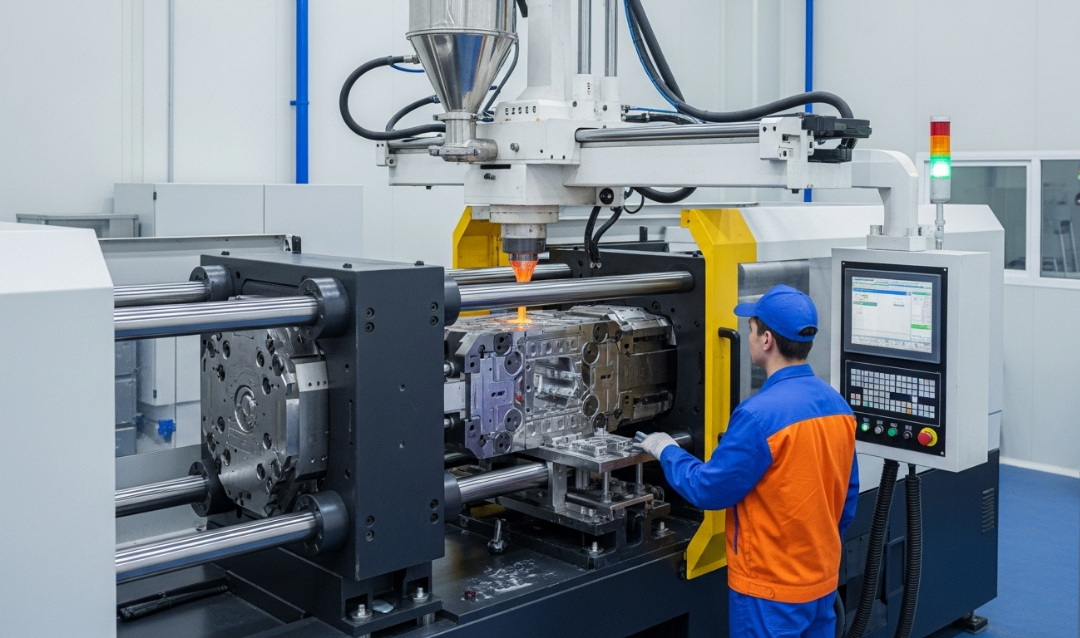
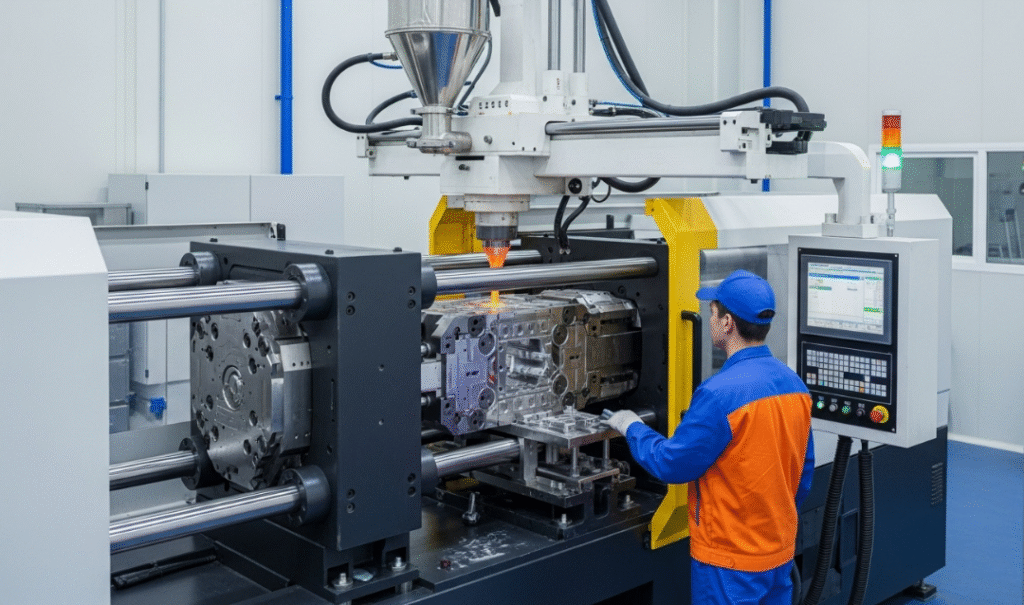
The injection molding process starts with a special machine that has a metal mold inside it. This mold has two main parts, a core and a cavity. When these two halves come together, they form the exact shape of the final product.
The process begins when small plastic pieces, called resin pellets, are poured into a part of the machine called the hopper. These pellets move into a long, heated tube known as the barrel. Inside the barrel is a rotating screw that pushes the pellets forward. As the plastic moves ahead, it gets hotter and melts into a thick liquid. Once the plastic is fully melted, the screw pushes it into the mold with high pressure through a small opening called a nozzle. The melted plastic fills the space inside the mold, and this is where the product takes its shape.
After the mold is filled, the plastic is left to cool and harden for a few seconds. Once it becomes solid, the machine opens the mold, and ejector pins gently push the finished piece out. Then the cycle starts again: melt, inject, cool, and eject, over and over. This makes molding a fast and efficient method for producing thousands of plastic parts with the same size, shape, and quality. Companies often use aluminum or steel molds, depending on the project. Aluminum molds are great for low or medium-volume production because they’re cheaper and faster to make. Steel molds, on the other hand, are stronger and better for high-volume manufacturing.
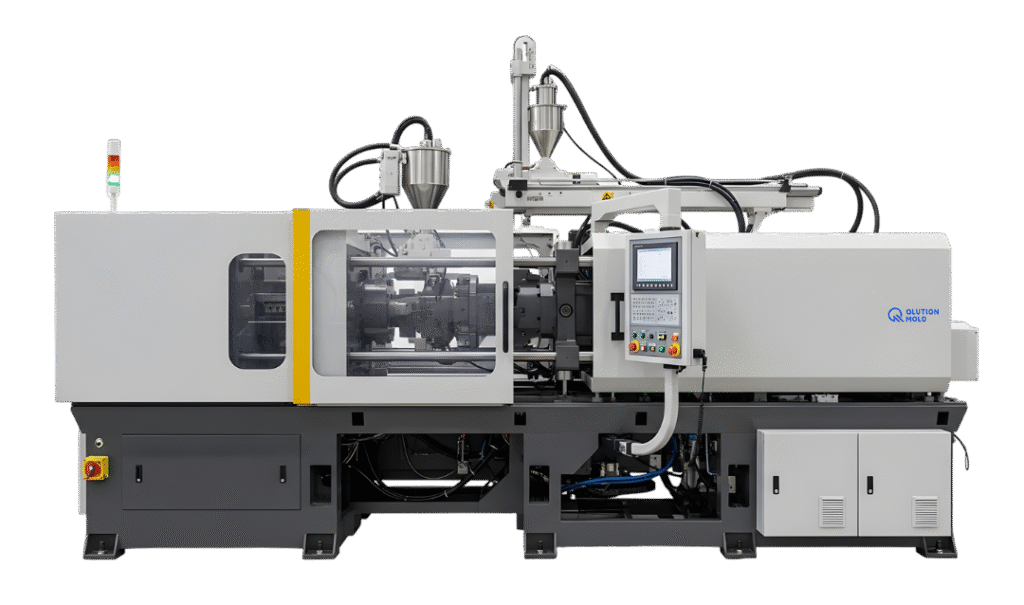
Injection Molding Machine
An injection molding machine has two main parts, the clamping unit and the injection unit.
Both work together to make plastic products again and again in one smooth cycle.
1. Clamping Unit
The clamping unit’s job is to open and close the mold (also called the die) and to push the finished product out when it’s ready.
There are two common clamping systems:
- Toggle type: uses mechanical links to open and close the mold.
- Hydraulic type: uses a hydraulic cylinder to move the mold directly.
2. Injection Unit
The injection unit melts and pushes the plastic into the mold.
Plastic pellets from the hopper fall into a long, heated barrel with a rotating screw inside.
As the screw turns, the pellets melt and gather in front of the screw; this is called metering.
When enough molten plastic collects, the screw moves forward and injects it into the mold through a small nozzle.
While the plastic flows inside, the machine carefully controls the injection speed and later applies pressure to make sure the mold fills.
Once the plastic cools and hardens, the machine opens the mold, and the product is ejected. Then the mold closes again, and the next cycle starts, fast, repeatable, and precise.
Basic Design Principles for Injection Molding
Good design is the secret to strong, smooth, and accurate plastic parts. When making something with injection molding, a few simple design rules help avoid mistakes like cracks, warping, or rough surfaces. Let’s look at the main principles below:
1. Tolerances
Every mold has a small difference between the exact size you want and the size you get; this is called a tolerance.
In molding, most parts are very precise, usually within ±0.003 inches. The amount of shrinkage (how much a part gets smaller after cooling) depends on the type of plastic.
- Strong materials like ABS or Polycarbonate (PC) shrink very little.
- Softer materials like TPE can shrink more.
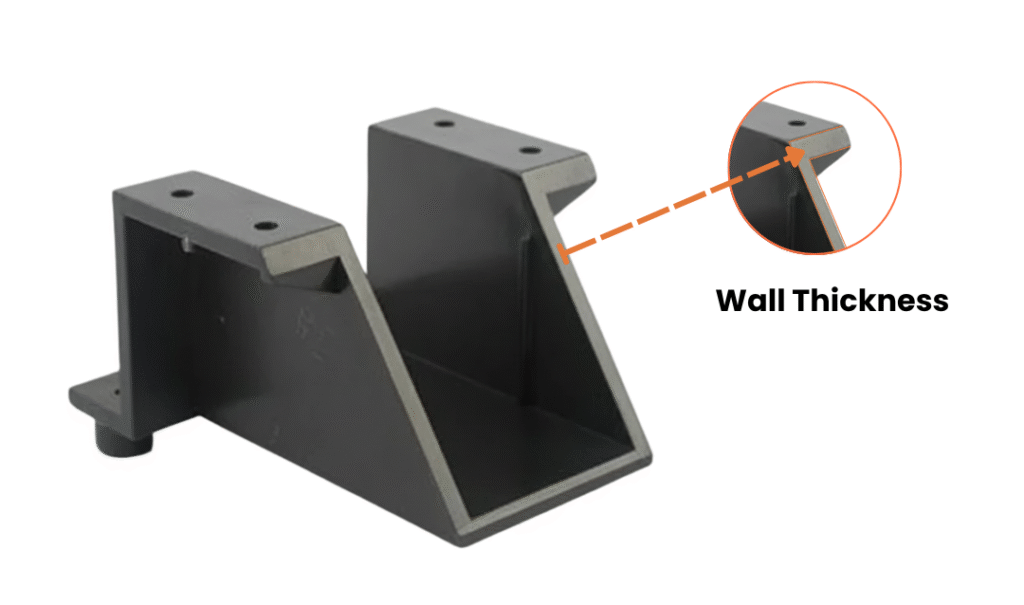
2. Wall Thickness
Try to keep the wall thickness the same throughout your design. If one part of the wall is thick and another is thin, it can cause problems like sink marks or warping.
A good rule: make walls between 40%–60% of the thickness of nearby walls, depending on the plastic used. Uniform thickness helps parts cool evenly and stay strong.
3. Core Geometry
If a part has thick areas, designers often core them out, which means creating a hollow space inside. This keeps the part light, reduces material cost, and helps it cool evenly.
Unnecessary thickness can lead to bending, size changes, or weak points.
4. Draft Angles
Draft means adding a small angle (like 1–2 degrees) to the sides of your design.
It helps the part come out of the mold smoothly without getting stuck or damaged.
For straight walls, even 0.5 degrees of draft makes a big difference.
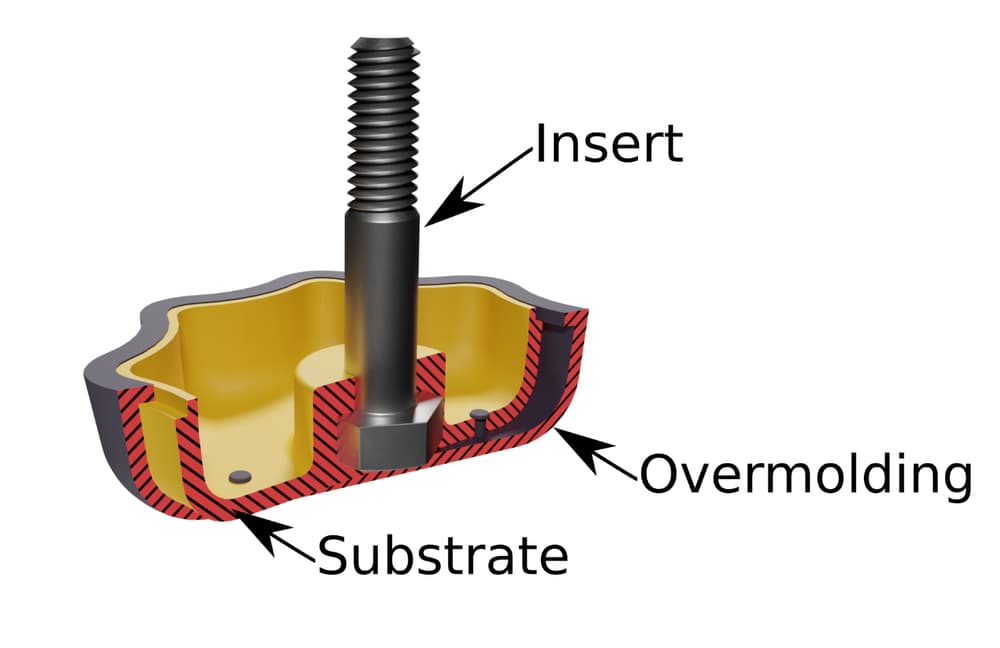
5. Side Actions
Sometimes a design has shapes that block the mold from opening easily; these are called undercuts. To handle them, molds use side actions (also called cams). These are moving parts inside the mold that slide in and out to release the part safely.
Conclusion
The injection molding process is one of the smartest and most reliable ways to make plastic parts. It’s fast, accurate, and great for producing thousands of items that all look the same. By understanding how molding works, from melting the plastic to cooling and removing the part, you can see why it’s used in everything from toys and phone cases to car parts and medical devices. Good mold design and smart planning help avoid common issues like warping or cracks, keeping each part strong and smooth. Whether it’s a small startup or a big factory, molding offers a mix of speed, quality, and cost efficiency that’s hard to beat.
Frequently Asked Questions
What is injection molding in simple words?
What are the main steps in the injection molding process?
What materials are used in injection molding?
What are the parts of an injection molding machine?
Clamping Unit: opens, closes, and releases the mold after each cycle.
Injection Unit: melts and injects the plastic.