Injection molding is one of the most widely used manufacturing processes in the world, capable of producing millions of plastic parts with exceptional precision. Despite its consistency and efficiency, even the most advanced molding systems can experience problems when mold design, material behavior, processing parameters, or machine settings are not properly optimized. These issues lead to visible and functional problems known as injection molding defects.
Defects affect more than just appearance; they cause dimensional inaccuracies, structural weaknesses, performance failures, higher scrap rates, and costly production delays. Understanding the root causes behind these defects is essential for implementing better quality inspection in molding, improving production consistency, and maintaining low costs. This guide explains the most common molding defects, the science behind why they occur, and proven methods for troubleshooting injection molding defects using process control, mold design improvements, and defect prevention techniques used by top manufacturers.
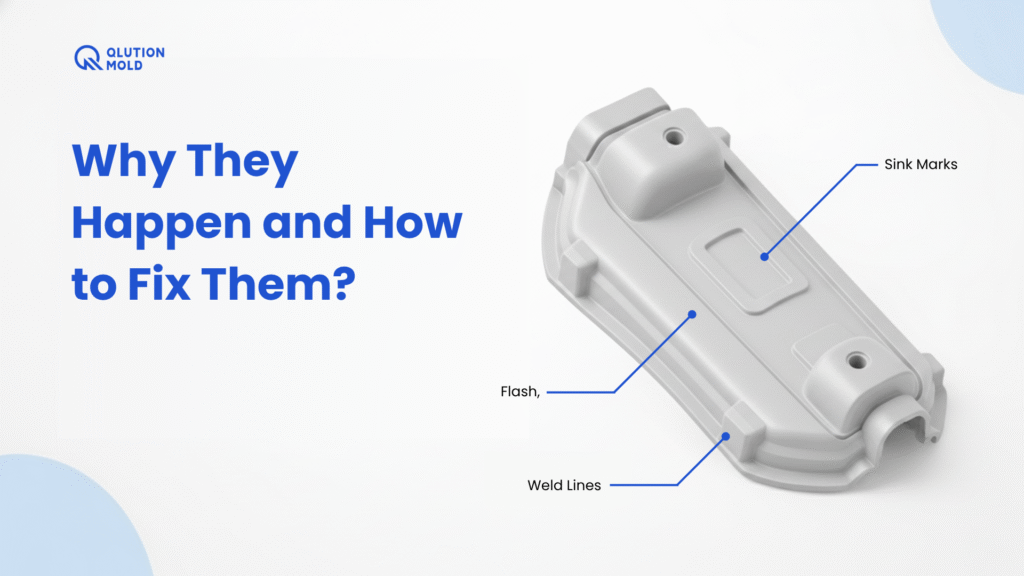
Why They Happen and How to Fix Them?
Sink marks in molded parts appear as small depressions or dents on the surface, typically in thicker sections or areas with ribs. They occur when the inner material cools and shrinks at a different rate than the outer surface. If packing pressure is insufficient or if cooling is uneven, the molten core pulls the surface inward, creating a noticeable sink.
To eliminate sink marks, manufacturers increase holding pressure, extend holding time, reduce melt temperature, and redesign wall thickness to improve uniform cooling. Optimizing rib-to-wall ratios, improving gate locations, and enhancing the mold’s cooling system are effective long-term solutions. Using simulation tools helps predict shrinkage and prevent future defects.
Flash and Short Shot Issues
Flash forms when excess molten plastic escapes from the mold cavity and solidifies around the edges, typically due to insufficient clamping force, worn mold parting surfaces, or overly high injection pressure. To fix flash and avoid injection molding defects, operators increase clamping force, repair mold wear, reduce melt temperature, and verify that the mold closes fully with tight alignment.
Opposite to flash, short shots occur when the cavity is not filled. This leads to incomplete parts, voids, or missing features. Short shots are usually caused by improper venting, low melt temperature, restricted flow paths, or inadequate injection pressure. Fixing short shots and preventing injection molding defects requires improving mold venting, raising melt temperature, widening gates or runners, and ensuring the machine provides sufficient shot size and pressure.
Burn Marks in Injection Molding
Burn marks appear as black or brown discoloration near the gate or thin sections. They occur when air trapped in the mold ignites due to compression and overheats the material.
Preventing injection molding defects, burn marks requires enhancing mold venting and reducing injection speed to prevent air entrapment. Lowering the melt temperature and eliminating dead spots inside runners also helps avoid overheating. Regular mold cleaning removes degraded material buildup, which contributes to burn formation.
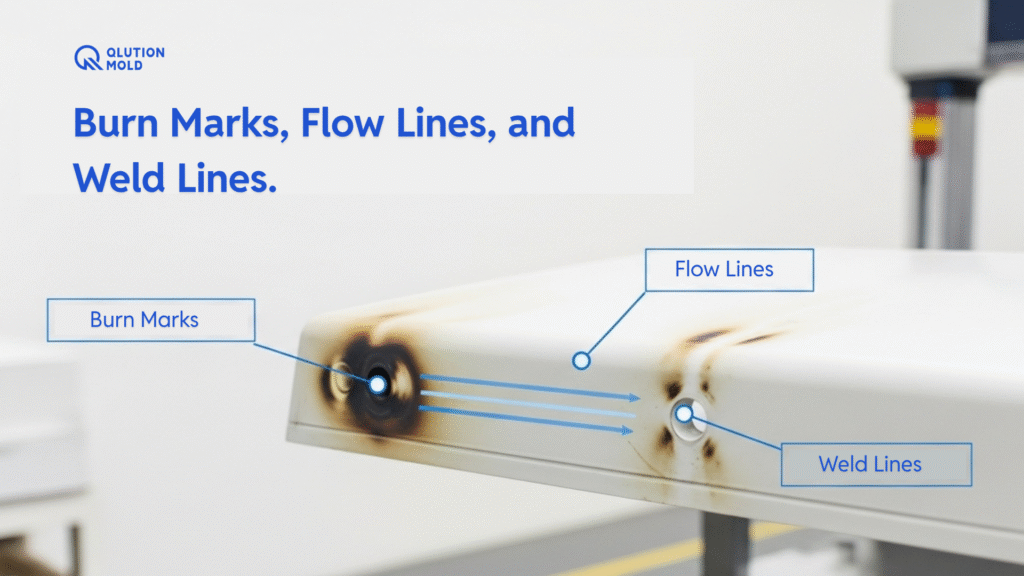
Flow Lines and Weld Lines
Flow lines look like wavy or streaky patterns on the surface, caused by differences in flow speed, temperature loss, or hesitation in the molten plastic. These flow lines are a common injection molding defect. To correct flow lines and minimize injection molding defects, manufacturers increase injection speed, optimize gate placement, raise mold temperature, and ensure uniform wall thickness to maintain consistent flow.
Weld lines, also called knit lines, form when two melt fronts meet and fail to bond completely. This can weaken the part structurally and contribute to injection molding defects. Weld lines often appear around holes, inserts, or multi-flow channels. Solutions include increasing melt temperature, raising injection speed, improving gate location, and using materials with better flow or higher compatibility. Advanced moldflow simulation helps predict and minimize these issues during mold design.
Warpage and Dimensional Errors
Warpage occurs when different areas of the part cool at different rates, causing the part to twist, bend, or deform. Uneven material shrinkage, improper cooling system design, and inconsistent wall thickness are the most common causes.
To prevent warpage, manufacturers redesign parts for uniform thickness, balance cooling channels, adjust melt and mold temperatures, modify packing pressure, and verify mold alignment. Using fiber-filled materials requires special attention, as fibers create directional shrinkage.
Why They Form and How to Prevent Them?
Bubbles or vacuum voids typically form in thicker sections or areas that experience cooling inconsistencies. Causes of bubbles in molded parts include trapped air, moisture contamination, inadequate packing pressure, and material degradation.
Prevention requires proper material drying, improved mold venting, increased holding pressure, and slower injection to allow air to escape. For thick-walled parts, minimizing sudden cross-sectional changes prevents void formation near the center of the part.
Surface Delamination and Discoloration
Surface delamination appears when thin layers peel or flake off the part. This typically results from contamination, incompatible materials, excessive mold release, or poor melt homogeneity. Fixing delamination requires better material handling, avoiding degraded resin, cleaning the mold, and ensuring melt mixing is uniform.
Discoloration, such as black streaks, yellowing, or unwanted color variations, comes from improper purging, degraded material in the barrel, or material contamination. Proper purging routines, consistent material drying, and stable melt temperature control are essential to prevent discoloration.
Jetting, Splay, and Silver Streaking
Jetting happens when the molten plastic enters the cavity too quickly, causing a snake-like trail on the surface. Slowing the injection speed or repositioning gates reduces jetting.
Splay or silver streaking occurs from moisture or trapped gas escaping during injection, leaving silver-colored lines on the surface. Improving material drying, increasing back pressure, and enhancing venting typically resolve the issue.
Gate Vestige, Parting Line Issues, and Mold Wear
Gate vestige refers to leftover marks or protrusions near the gate area. Minimizing vestige requires better gate design, sharper gate trimming, or using sub-gates that break cleanly.
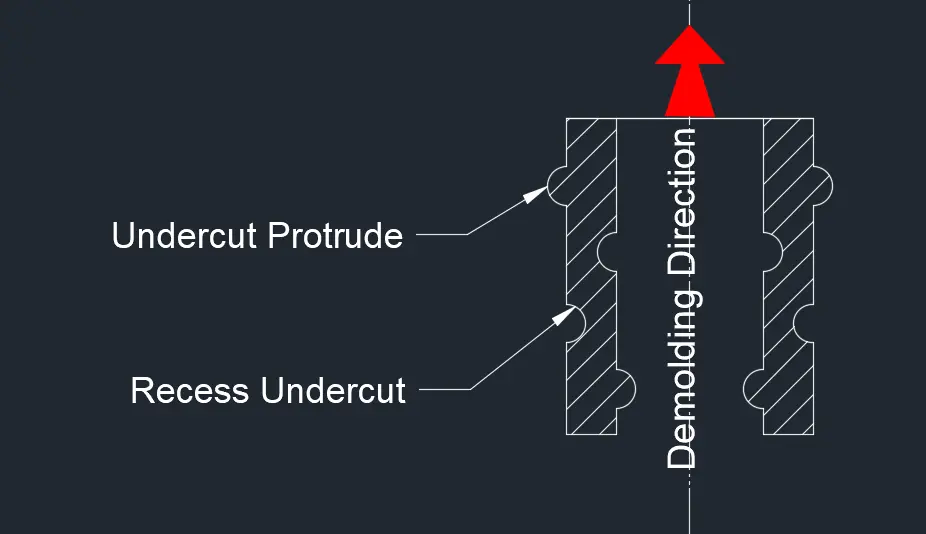
Improper parting line placement leads to cosmetic defects or structural weaknesses. Variations in wall thickness, undercuts, and insufficient draft angles also create molding challenges. These issues require mold redesign and careful geometric optimization.
Material-Related Defects:
Material degradation causes brittleness, burn spots, and inconsistent part strength. This occurs when resin is overheated, stays too long in the barrel, or absorbs moisture. Using proper drying equipment, reducing residence time, and lowering melt temperature prevent degradation.
Contamination from regrind, dust, moisture, or incompatible resins leads to streaking, voids, and surface defects. Clean material handling systems, sealed containers, and dedicated feeding equipment reduce contamination.
Mold Venting and Temperature Control
Improper venting causes burn marks, short shots, bubbles, and incomplete filling. Adding vents, polishing vent channels, and maintaining parting lines ensures proper airflow.
Temperature control is equally important. Uneven mold temperatures create warpage and shrinkage variations. Optimized cooling channels and consistent mold heating significantly improve dimensional accuracy.
Troubleshooting Injection Molding Defects:
Troubleshooting begins by analyzing machine parameters such as injection pressure, melt temperature, screw speed, holding pressure, back pressure, and cycle time. Adjusting these parameters eliminates many root causes.
Real-time monitoring tools and cavity pressure sensors help identify issues during production. Using CAE simulation tools like Moldflow analysis allows engineers to predict defects before tooling is finalized.
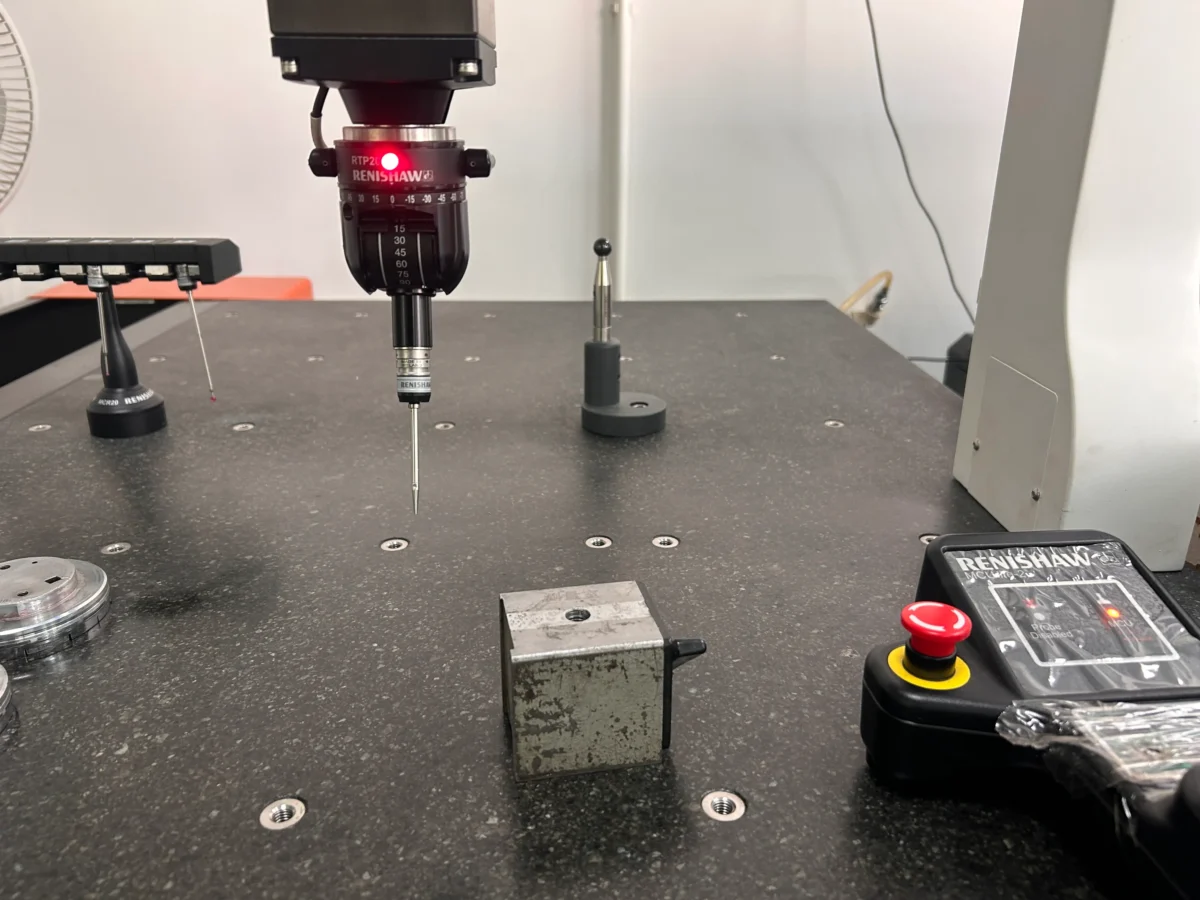
Quality Inspection in Molding
Quality inspection ensures every part meets dimensional, structural, and aesthetic standards. Inspection methods include visual inspection, optical scanning, CMM measurements, surface finish evaluation, thermal imaging, and first article inspection.
Statistical Process Control (SPC), in-line monitoring, and automated visual systems help detect defects early and reduce scrap.

Defect Prevention Techniques
Preventing defects starts with strong mold design principles, uniform wall thickness, proper gate and runner design, balanced filling, adequate venting, and optimized cooling layouts.
Using high-flow materials, performing regular mold maintenance, and stabilizing machine parameters dramatically reduce defect rates. Lean manufacturing, sensor-driven automation, proper drying, and clean material handling all contribute to long-term consistency.
Conclusion:
Injection molding defects are unavoidable in complex manufacturing environments, but they are manageable with the right knowledge and systems in place. By understanding injection molding defects sink marks, flow lines, weld lines, flash, short shots, warpage, bubbles, burn marks, delamination, discoloration, and other common issues, manufacturers gain the power to implement precise solutions.
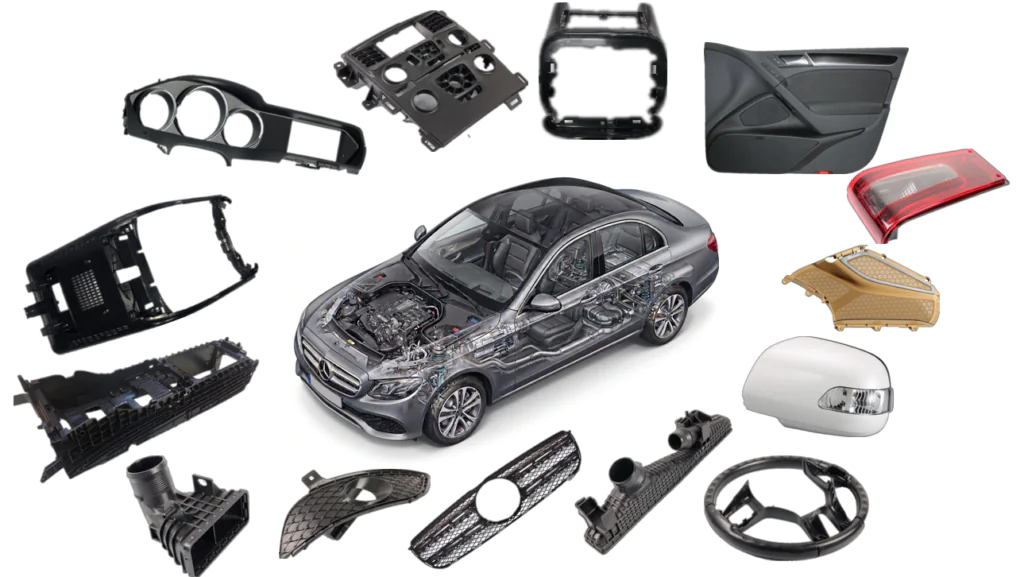
Combining robust mold design, disciplined process optimization, real-time quality monitoring, and strong defect prevention techniques ensures consistent, high-quality molded parts, even in demanding applications across automotive, medical, consumer goods, aerospace, and industrial markets. When the process is controlled properly, injection molding remains one of the fastest, most accurate, and most cost-effective methods of producing plastic components at scale.